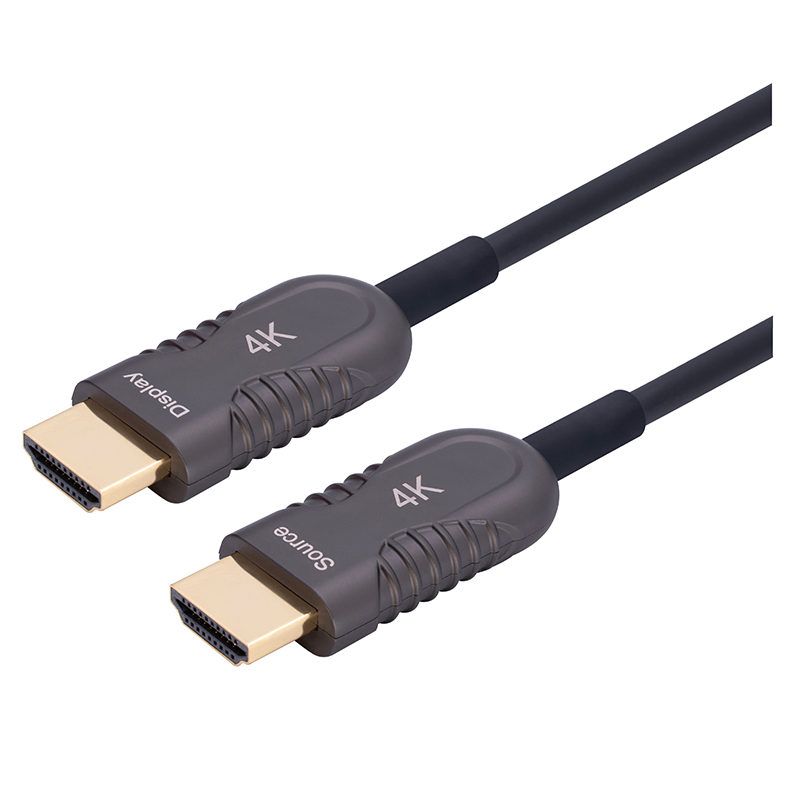
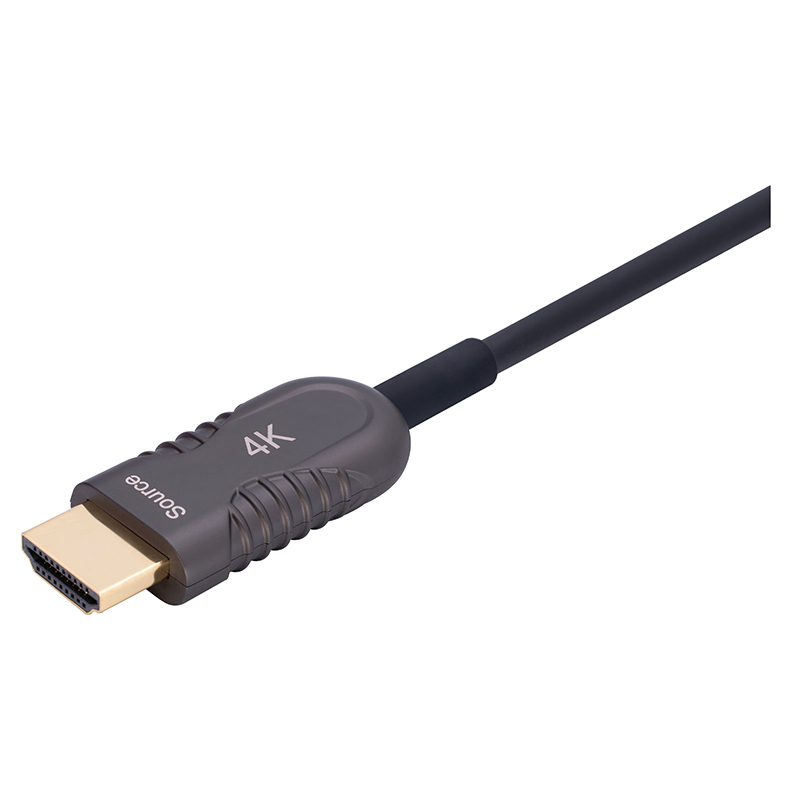
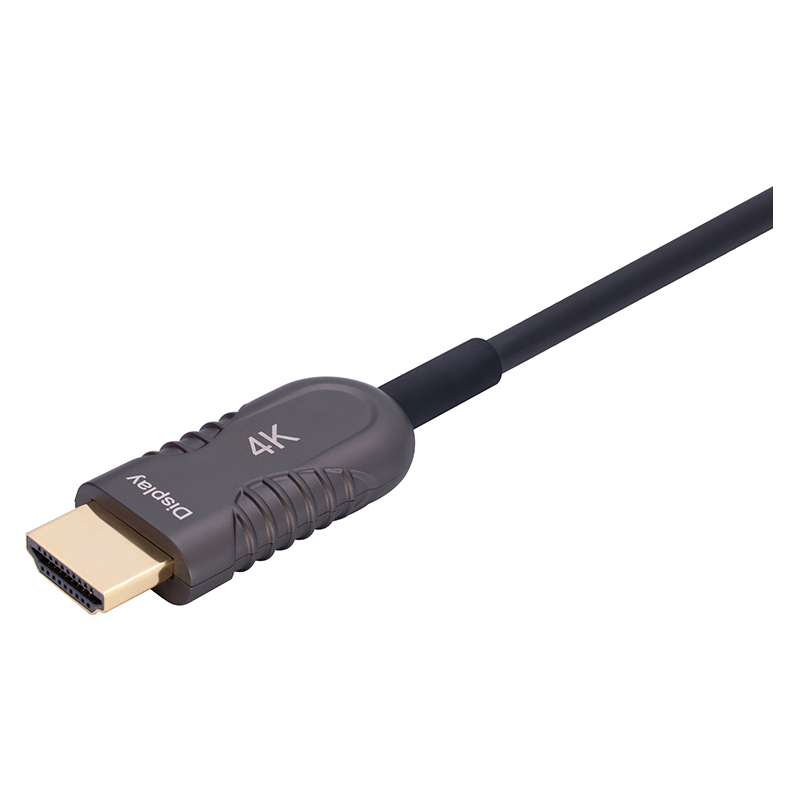
4K Fiber Optic HDMI 2.0 Active Optical Cable-A to A,18Gbps
4k Fiber Optic HDMI 2.0 Active Optical Cable offers 18Gbps high speed rate and full 4096 x 2160 / 3840 x 2160 (4K) at 60Hz 4:4:4 video signals up to 150m (492ft)
- Extend full 4096 x 2160 / 3840 x 2160 (4K) at 60Hz 4:4:4 video signals up to 150m (492ft)
- Fully supports HDMI 2.0 spec, including eARC, 21:9 Aspect Ratio and more
- PCM, DTS-HD Master and Dolby Digital True HD Surround Sound compatible
- Practically Zero EMI/RFI profile for flawless performance
- Hybrid Fiber/Copper design requires no external power
- Supports HDCP 2.2 / EDID / DDC / CEC
BONESTEC Fiber Optic HDMI Cable is crafted with high-quality hybrid optical fiber cable (3 Fiber & 7 Copper). Our 4K HDMI 2.0 Active Optical Cables offer unmatched transmission capabilities with a maximum data rate of 18Gbps, ensuring pristine visual quality with resolutions up to 4096 x 2160 / 3840 x 2160 (4K) at 60Hz video signals. Experience the full spectrum of colors with 4:4:4 , and enjoy enhanced features like HDR and eARC, all without any signal loss, even over long distances up to 150meters.
Designed for durability and reliability, the 4K Active Fiber Optic HDMI 2.0 Cables feature an industrial-grade TPU jacket. This jacket provides exceptional protection and enables these cables to operate flawlessly in a wide temperature range, from -40℃ to +80℃. With this rugged construction, these cables are ideal for demanding environments such as Medical Surgeries, Live Events Rental, Military applications, Shipboard installations, Temporary Staging, or any scenario that demands extended HDMI connectivity in challenging conditions.
Benefits of using our 4K Fiber Optic HDMI 2.0 Active Optical Cables
- High Bandwidth: Fiber optic HDMI cables can support very high bandwidths, making them suitable for transmitting ultra-high-definition (UHD) video, including 4K and even 8K resolutions. They can also handle advanced audio formats like Dolby Atmos and DTS:X.
- Long Transmission Distances: Fiber optic cables can transmit HDMI signals over much longer distances compared to copper cables. Some fiber optic HDMI cables can transmit signals for up to hundreds of meters without signal degradation.
- Immunity to Electromagnetic Interference (EMI): Optical fibers are immune to EMI, which can be a significant advantage in environments with a lot of electronic interference, such as data centers or areas with many electronic devices.
- Thin and Lightweight: Fiber optic HDMI cables are typically thinner and more flexible than their copper counterparts, making them easier to route and install in tight spaces.
- Signal Integrity: Optical signals are less susceptible to signal loss and degradation over long distances, ensuring that the audio and video quality remains consistent.
- Security: Fiber optic cables are inherently more secure because they do not radiate electromagnetic signals that can be intercepted or tapped, which is a potential concern with copper cables.
- Durability: Fiber optic HDMI cables are less prone to wear and tear, as they are not susceptible to issues like corrosion that can affect copper-based cables.
These cables are commonly used in professional AV setups, home theaters, digital signage installations, and other applications where high-quality audio and video signals need to be transmitted over long distances without loss of quality. They are also valuable in scenarios where EMI is a concern or where the installation requires flexibility and durability.
- Extend full 4096 x 2160 / 3840 x 2160 (4K) at 60Hz 4:4:4 video signals up to 150m (492ft)
- Fully supports HDMI 2.0 spec, including eARC, 21:9 Aspect Ratio and more
- PCM, DTS-HD Master and Dolby Digital True HD Surround Sound compatible
- Practically Zero EMI/RFI profile for flawless performance
- Hybrid Fiber/Copper design requires no external power
- Supports HDCP 2.2 / EDID / DDC / CEC
- High-Quality Resolution: Supports 4K@60Hz 4:4:4 video signals up to 150 meters for a high-quality viewing experience.
- High Bandwidth: 18Gbps capacity, ensuring fast and reliable transmission of multimedia content
- Lossless Transmission: Delivers 4K@60Hz visuals, VR, and 3D display signals over long distances
- Fast Refresh Rate: 6Hz at 4K resolution for crisp, sharp images; higher rates at lower resolutions
- Dynamic HDR: Optimizes contrast, depth, brightness, and color gamut on a frame-by-frame basis
- Enhanced eARC: Simplifies connectivity and audio optimization for multiple components
- High-Quality Audio: Supports up to 192kHz, 24-bit, uncompressed 5.1 and 7.1, Dolby lossless formats, and 32-channel audio
- VRR for Gaming: Fluid gameplay with minimal lag, judder, and frame tearing
- Advanced Features: Supports EDID, self-detecting function, ALLM, QMS, and QFT
- Durable Construction: Zinc-alloy housing, corrosion-resistant gold-plated connectors
- EMI Resistance: High resistance to electromagnetic interference, ensuring a safe, radiation-free environment
- Customizable: Up to 150m maximum length (30m max for eARC), custom length, logo, and packaging available
- Digital signage
- LED signs & monitors for stadiums,hospitals,shipping malls
- Medical imaging equipment
- Airport boarding video information system
- Home Theater, Blu-ray, 3D video, projector, set-top box, DVR, game console control and monitor connection
- Radio and TV station
- Video conference equipment
- Security monitoring system
FAQ
Q1: There is no video signal transmission. What should I do?
A1:These are excellent troubleshooting steps for identifying and resolving issues with video cables, sources, and destinations. Following these methods can help you pinpoint the source of the problem and determine whether it’s related to hardware or configuration. Here’s a summary of the key points in your provided information:
Testing Video Setup Components:
- To identify the source of issues, test both the video cable and the connected devices, including the video source and video destination (display).
- Use a different video cable, video source, and destination to see if the issue persists.
- Ideally, use components that you know work in another setup to ensure that the problem is not with the hardware.
Resolution Matching:
- Ensure that the source resolution matches the capabilities of the video destination. Mismatched resolutions can lead to display problems.
- Consider testing at a lower resolution, such as 1024 x 768, to troubleshoot issues.
- For 4K resolutions, testing with shorter cables individually can help identify potential cable-related issues.
Audio Troubleshooting:
- If you’re experiencing audio issues over HDMI/DisplayPort, check the audio output settings on the video source.
- Verify that the audio format from the source matches the compatible audio format supported by the destination device.
- Ensure that the volume on the destination device is appropriately adjusted.
- If a 3.5mm device is connected to a hub, try disconnecting it, as it might interfere with audio over HDMI/DisplayPort.
- Note that HDMI/DisplayPort to DVI/VGA cables, adapters, and converters typically do not support audio, so separate audio connections may be required.
By following these steps and considering these factors, users can troubleshoot and resolve common issues related to video and audio connections effectively.
Q2: Why my mouse does not move properly between the displays?
Lorem ipsum dolor sit amet, consectetur adipiscing elit. Ut elit tellus, luctus nec ullamcorper mattis, pulvinar dapibus leo.
Q3: How do I set to mirror my primary display onto my secondary display in Windows?
A3:The steps you provided explain how to duplicate displays on multiple monitors in different versions of the Windows operating system. This configuration can be useful when you want to display the same content on all connected monitors. Here are the steps for Windows 10/8, Windows 7/Vista, and Windows XP:
Windows 10 / 8:
- Press the Windows Key + X and select “Control Panel.”
- Click on “Appearance and Personalization,” then choose “Display.”
- Select the “Resolution” or “Adjust Resolution” option from the left column.
- Expand the drop-down menu next to “Multiple displays” and select “Duplicate these Displays.”
- Click “OK” to apply the changes and close the window.
Windows 7 / Vista:
- Click the “Start” button and select “Control Panel.”
- Choose “Appearance and Personalization,” then click “Display.”
- Select the “Resolution” or “Adjust Resolution” option from the left column.
- Expand the drop-down menu next to “Multiple displays” and select “Duplicate these Displays.”
- Click “OK” to apply the changes and close the window.
Windows XP:
- Click the “Start” button and select “Control Panel.”
- Double-click “Display.”
- Go to the “Settings” tab.
- Uncheck the box beside “Extend my Windows desktop onto this monitor.”
- Click “OK” to apply the changes and close the window.
Following these steps will configure your system to duplicate the display on all connected monitors, so you’ll see the same content on each screen. This setup is commonly used for presentations or when you want to mirror your primary display across multiple monitors.


