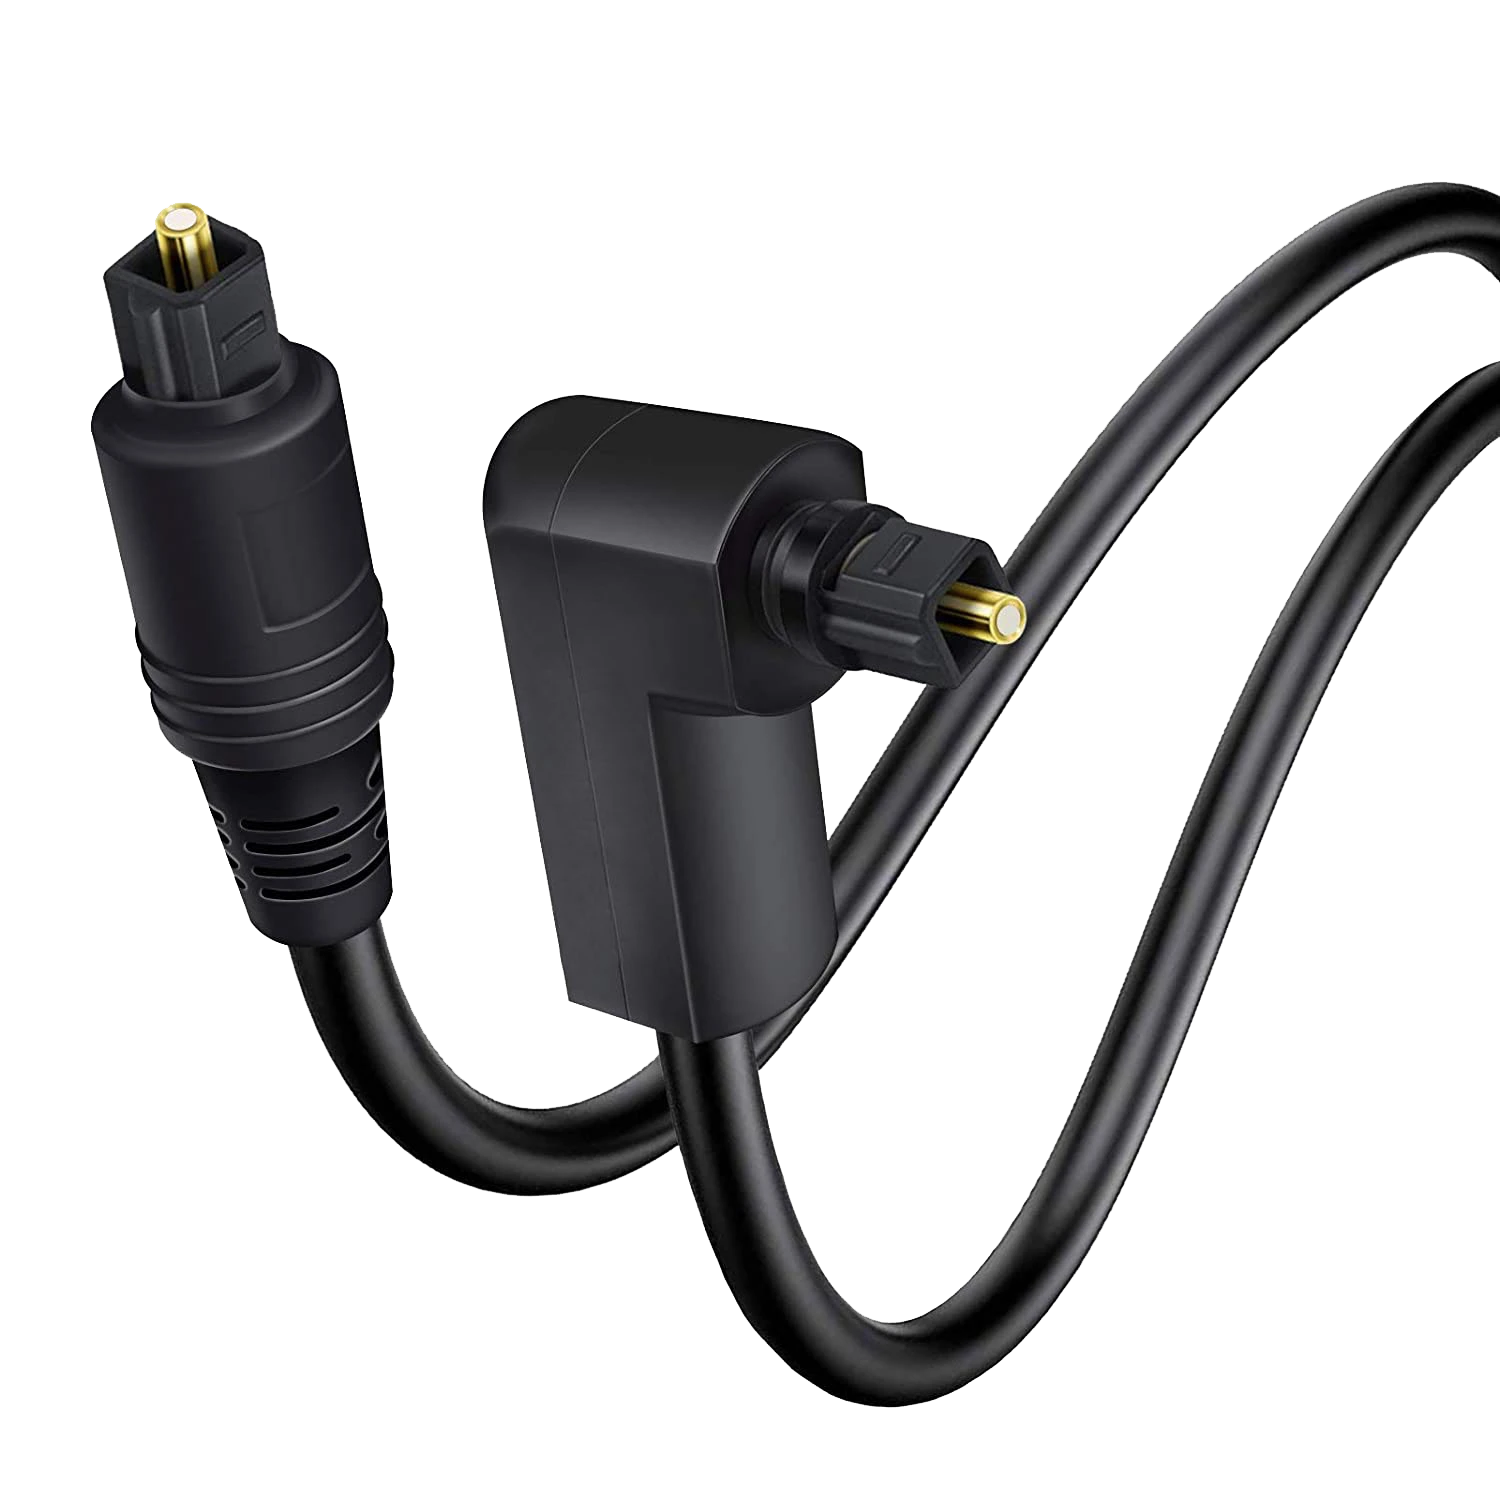
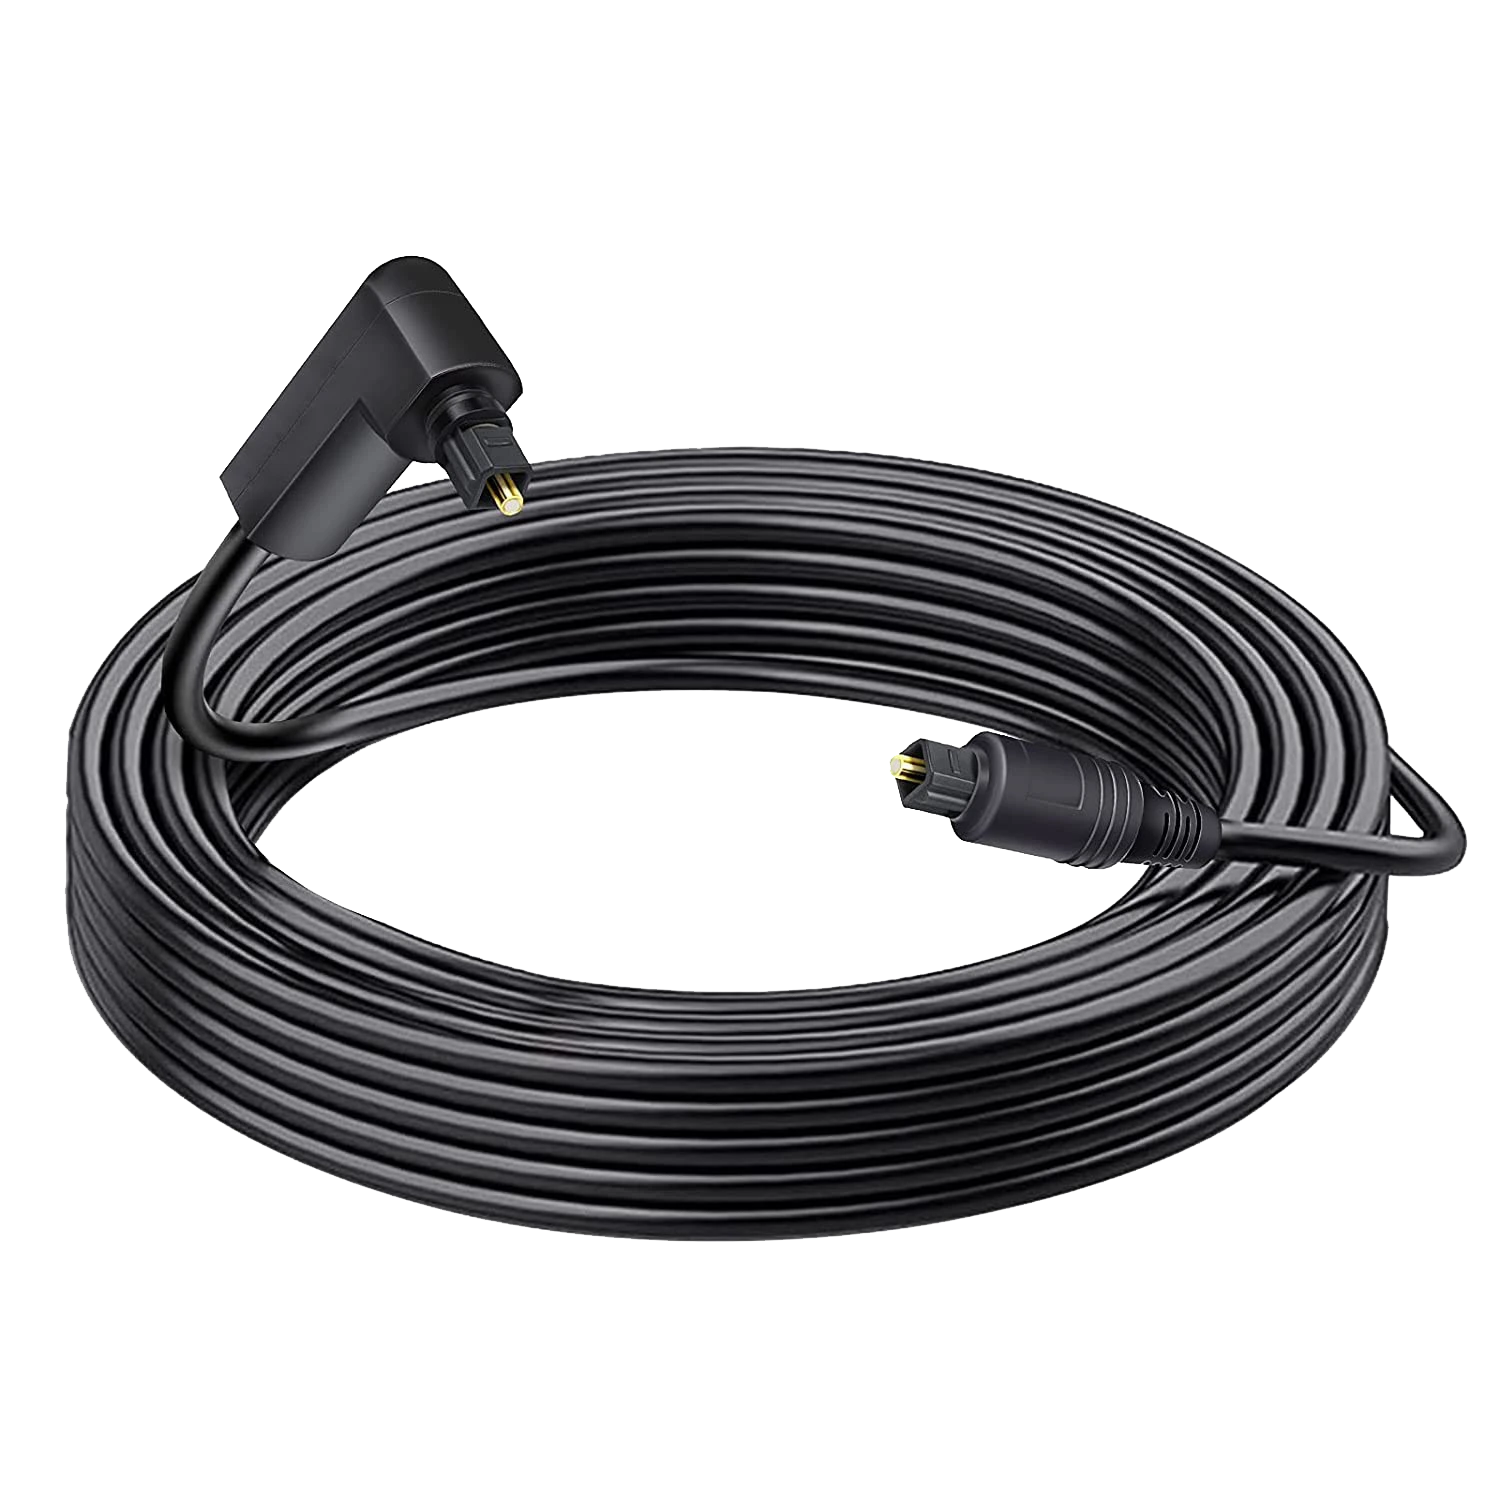
Audio Optical Toslink Cable 90 Degree Digital SPDIF
Experience superb sonic clarity and accurate musical reproduction with this 90 Degree S/PDIF (Toslink) Digital Optical Audio Sound Bar TV Cable.
Connector Type: TOSLINK/OPTICAL. This flexible optical audio cable features a full-sized Toslink connector on each end
Supports compressed: 5.1/7.1 digital surround sound and uncompressed lossless PCM audio.
Cable Length: 1.5ft/3.3ft/6.6ft/10ft/16.5ft/33ft/65ft
Material: durable PVC exterior
Color: Black
Gold-plated connectors: 24K corrosion-resistant, gold-plated connectors ensure superior functionality under heavy usage and offer a high-quality signal between your audio devices.
Connector Grips: Plastic tip protectors are attached to each end to protect the optical cable when not in use. Note: Remove protective cover before use
Experience superb sonic clarity and accurate musical reproduction with this 90 Degree S/PDIF (Toslink) Digital Optical Audio Sound Bar TV Cable
Use the 90-degree toslink optical cable to quickly connects a CD/DVD player, Blu-Ray player, gaming console, or other audio component to a preamplifier, receiver, audio processor, audio system, home theater system, or Dolby Digital system.
Putting strain on an optical cable will damage it over time.
Stop struggling with Toslink cables being too close to the wall or the back of your cabinet.
Bangun right angle digital optical audio cable with 360 Degree swivel Head aids in connecting cables in tight and congested spaces.
The 90-degree SPDIF optical audio cable enables you to correctly orient your cable so less strain occurs on the connector.
Widely Compatible:
Devices with a Toslink (S/PDIF,Optical,Digital) port, like sound bars(Vizio, Sony, Samsung, LG, Bose, Sharp, Philips, Polk, Yamaha), TV(Vizio, Samsung, Apple, LG, Sharp, Sony)
Game consoles/PlayStations(PS3, PS4, Xbox One, Xbox One S,XBox 360, Sony PlayStation)
CD/DVD/Blu-Ray players, home/audio theater receivers, preamplifiers, digital satellites, audio processors, or digital-to-analog converters (DACs).
Connector Type: TOSLINK/OPTICAL. This flexible optical audio cable features a full-sized Toslink connector on each end
Supports compressed: 5.1/7.1 digital surround sound and uncompressed lossless PCM audio.
Cable Length: 1.5ft/3.3ft/6.6ft/10ft/16.5ft/33ft/65ft
Material: durable PVC exterior
Color: Black
Gold-plated connectors: 24K corrosion-resistant, gold-plated connectors ensure superior functionality under heavy usage and offer a high-quality signal between your audio devices.
Connector Grips: Plastic tip protectors are attached to each end to protect the optical cable when not in use. Note: Remove protective cover before use
FAQ
Q1: There is no video signal transmission. What should I do?
A1:These are excellent troubleshooting steps for identifying and resolving issues with video cables, sources, and destinations. Following these methods can help you pinpoint the source of the problem and determine whether it’s related to hardware or configuration. Here’s a summary of the key points in your provided information:
Testing Video Setup Components:
- To identify the source of issues, test both the video cable and the connected devices, including the video source and video destination (display).
- Use a different video cable, video source, and destination to see if the issue persists.
- Ideally, use components that you know work in another setup to ensure that the problem is not with the hardware.
Resolution Matching:
- Ensure that the source resolution matches the capabilities of the video destination. Mismatched resolutions can lead to display problems.
- Consider testing at a lower resolution, such as 1024 x 768, to troubleshoot issues.
- For 4K resolutions, testing with shorter cables individually can help identify potential cable-related issues.
Audio Troubleshooting:
- If you’re experiencing audio issues over HDMI/DisplayPort, check the audio output settings on the video source.
- Verify that the audio format from the source matches the compatible audio format supported by the destination device.
- Ensure that the volume on the destination device is appropriately adjusted.
- If a 3.5mm device is connected to a hub, try disconnecting it, as it might interfere with audio over HDMI/DisplayPort.
- Note that HDMI/DisplayPort to DVI/VGA cables, adapters, and converters typically do not support audio, so separate audio connections may be required.
By following these steps and considering these factors, users can troubleshoot and resolve common issues related to video and audio connections effectively.
Q2: Why my mouse does not move properly between the displays?
Lorem ipsum dolor sit amet, consectetur adipiscing elit. Ut elit tellus, luctus nec ullamcorper mattis, pulvinar dapibus leo.
Q3: How do I set to mirror my primary display onto my secondary display in Windows?
A3:The steps you provided explain how to duplicate displays on multiple monitors in different versions of the Windows operating system. This configuration can be useful when you want to display the same content on all connected monitors. Here are the steps for Windows 10/8, Windows 7/Vista, and Windows XP:
Windows 10 / 8:
- Press the Windows Key + X and select “Control Panel.”
- Click on “Appearance and Personalization,” then choose “Display.”
- Select the “Resolution” or “Adjust Resolution” option from the left column.
- Expand the drop-down menu next to “Multiple displays” and select “Duplicate these Displays.”
- Click “OK” to apply the changes and close the window.
Windows 7 / Vista:
- Click the “Start” button and select “Control Panel.”
- Choose “Appearance and Personalization,” then click “Display.”
- Select the “Resolution” or “Adjust Resolution” option from the left column.
- Expand the drop-down menu next to “Multiple displays” and select “Duplicate these Displays.”
- Click “OK” to apply the changes and close the window.
Windows XP:
- Click the “Start” button and select “Control Panel.”
- Double-click “Display.”
- Go to the “Settings” tab.
- Uncheck the box beside “Extend my Windows desktop onto this monitor.”
- Click “OK” to apply the changes and close the window.
Following these steps will configure your system to duplicate the display on all connected monitors, so you’ll see the same content on each screen. This setup is commonly used for presentations or when you want to mirror your primary display across multiple monitors.


